The most basic test RedLine13 offers is the “Simple URL” test. This test type is used for hitting a single pre-defined URL endpoint. Tests run here will run on RedLine13 servers and is one test type where AWS integration is not a prerequisite, however doing so will give you additional options when configuring load generators.
Getting Started
To run a Simple URL test on RedLine13, begin by logging into your account, clicking on “Start Test“, and then navigating to the “Simple Test” tab:

Running Your First Simple URL Test
In order to run a simple URL test, you must specify a target URL endpoint to hit. Additionally, if you wish to use load generators in your AWS account, you will need to configure your AWS credentials as listed below.
- First make sure you have your AWS credentials configured properly. This is not an absolute prerequisite; however, it will allow you to configure load generator server sizes for your test.
- Enter a target test URL that you want to generate load against.
- Name your test.
- Click on “Start Test“.

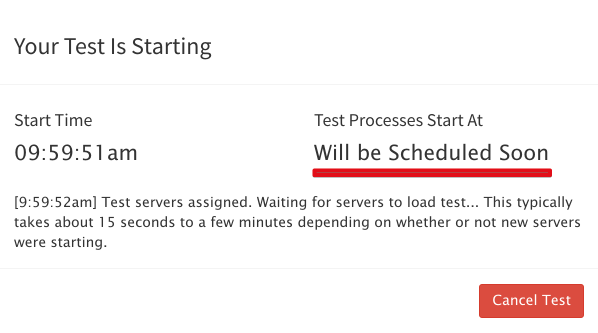
Your first launch of a test will require AWS to launch instances, which typically takes anywhere from 15 seconds to several minutes. You will see the following message while you wait:

Subsequent tests run near each other may re-use load generator instances and therefore may have faster start times while those instances are active.
Viewing Results for Your Test
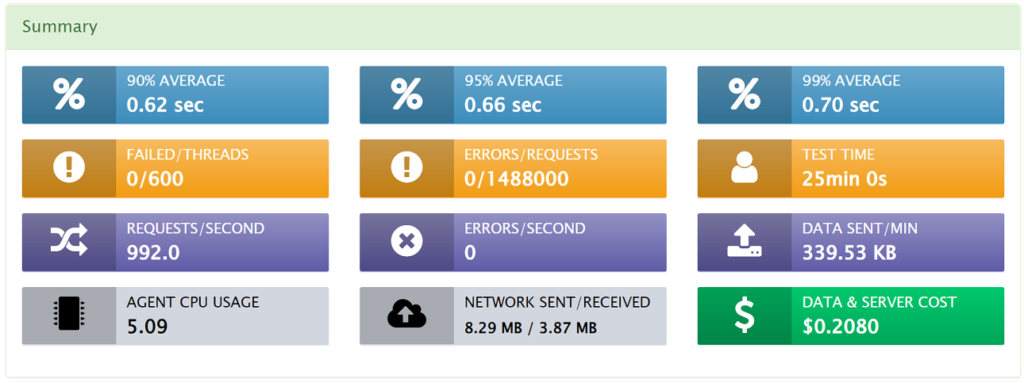
As your test begins, real time results will be displayed on the load test results page. These tables and graphs will update and finalize at the conclusion of your test. In addition to this, a test summary will be displayed after your test completes containing the most pertinent test information. Below is an example which is also covered in our documentation in more detail under “Test Summary“:

Additional Configuration Options
The configuration for a simple URL test requires the following parameters:
- The URL endpoint that you wish to test
- Number of simulated users (default is 10)
- Number of iterations that the test will run (per user, default is 1)
You can also specify additional parameters such as ramp up time, and minimum/maximum delays. Further down there is a section labeled “Advanced Simple Test Options“. Here we provide you with a few additional options such as linked resource options, basic authorization (username/password capability), and custom-defined headers. A complete list of fields and descriptions can be found below.
Field Descriptions
| Field | Description |
| URL | The URL of the target resource which the load test will be directed against. |
| Number of Users | This will be the number of users to simulate load against the specified URL. |
| Iterations Per User | The number of times the URL will be accessed per user as part of this load test. |
| Ramp Up Time | This can be specified as the time to ramp up the users, otherwise they all start at the same time. |
| Minimum Delay | For each request, this specifies the minimum time to wait before making the http or https request. |
| Maximum Delay | For each request, this specifies the maximum time to wait before making the http or https request. |
For more complex tests and even greater flexibility, we recommend that you try JMeter tests on our platform.
