An AWS account unlocks the most important and useful features of RedLine13. Signing up for AWS only takes a few minutes and it is free. You only pay for the resources you want, when you need them. New accounts are eligible for the AWS Free Tier, meaning you can use certain resources completely free for the first 12 months, and other resources which are free forever. In this post, we will guide you through the steps in creating a new AWS account in under 10 minutes.
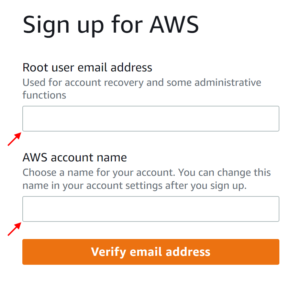
To get started, navigate to the AWS sign-up page. You will need to provide an email address and choose a name for your account:
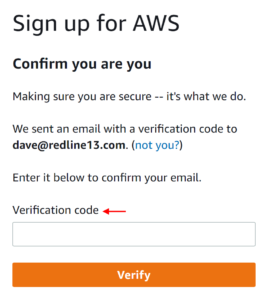
One you provide this, AWS will send you a verification email to check the email address you have provided is valid. Simply copy and paste this code into the next page:
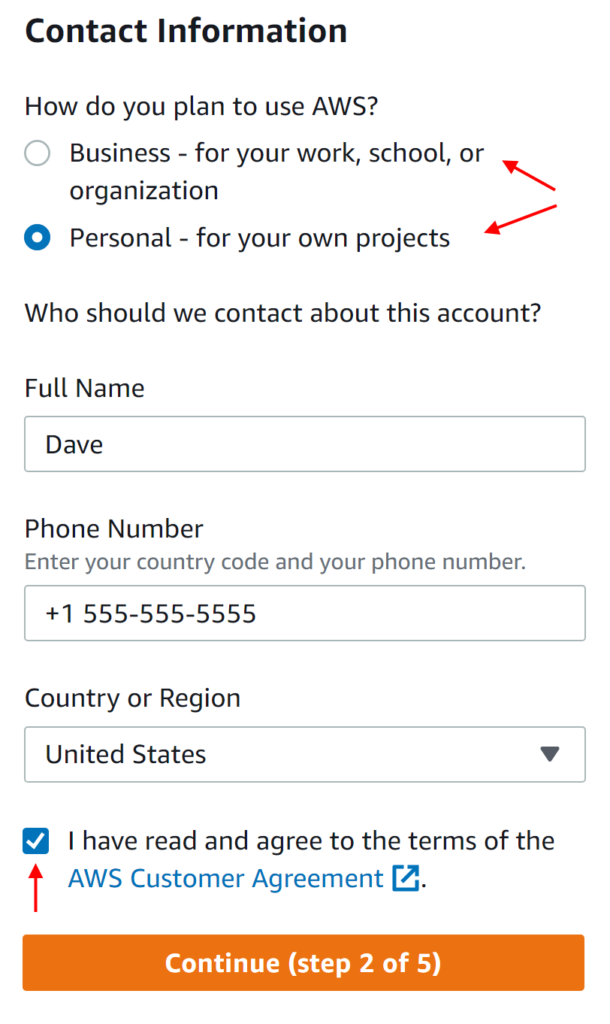
You will then be prompted to set a password for your account. After this, AWS asks for some basic contact information. Choose whether this will be a business or personal account:
Next, you will need to provide a credit card number. This will only be used if you choose to provision AWS resources beyond the AWS Free Tier. Your credit card will not be charged otherwise:
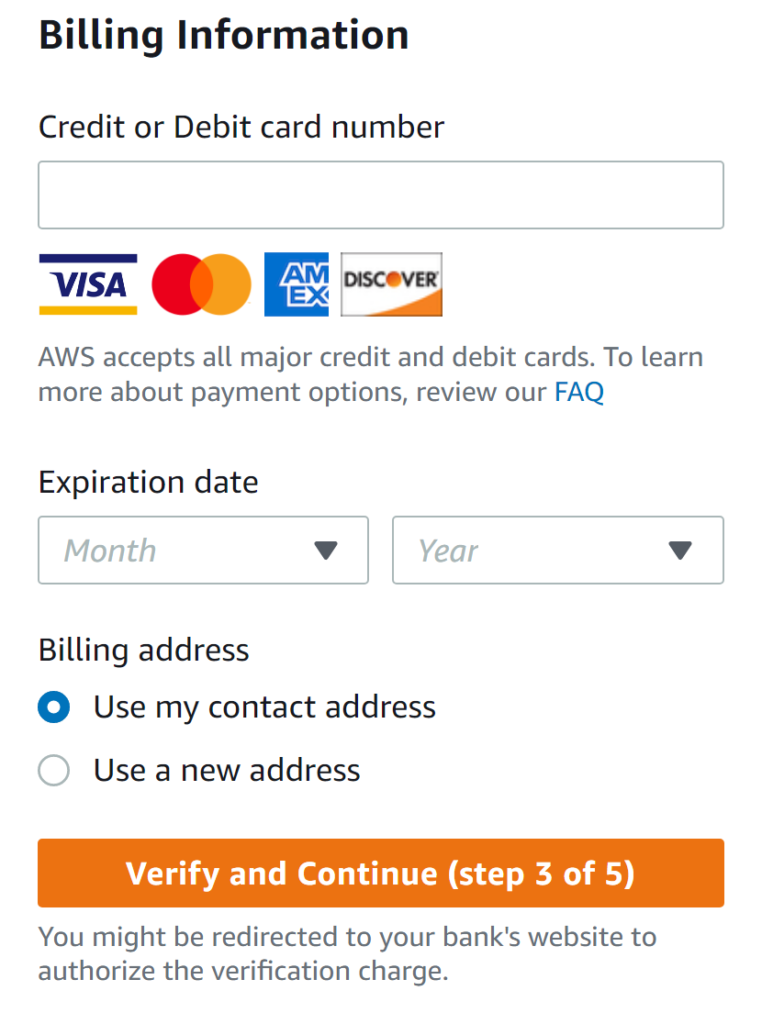
After that, you will need to confirm your identity, either by text message or an automated phone call.
The final step asks what your support preference is. This refers to support specifically from AWS with services you may use. For evaluation purposes, we recommend “Basic support” which is completely free:

Finally, click on “Complete sign up” – and that’s it. Your AWS account has been successfully set up:
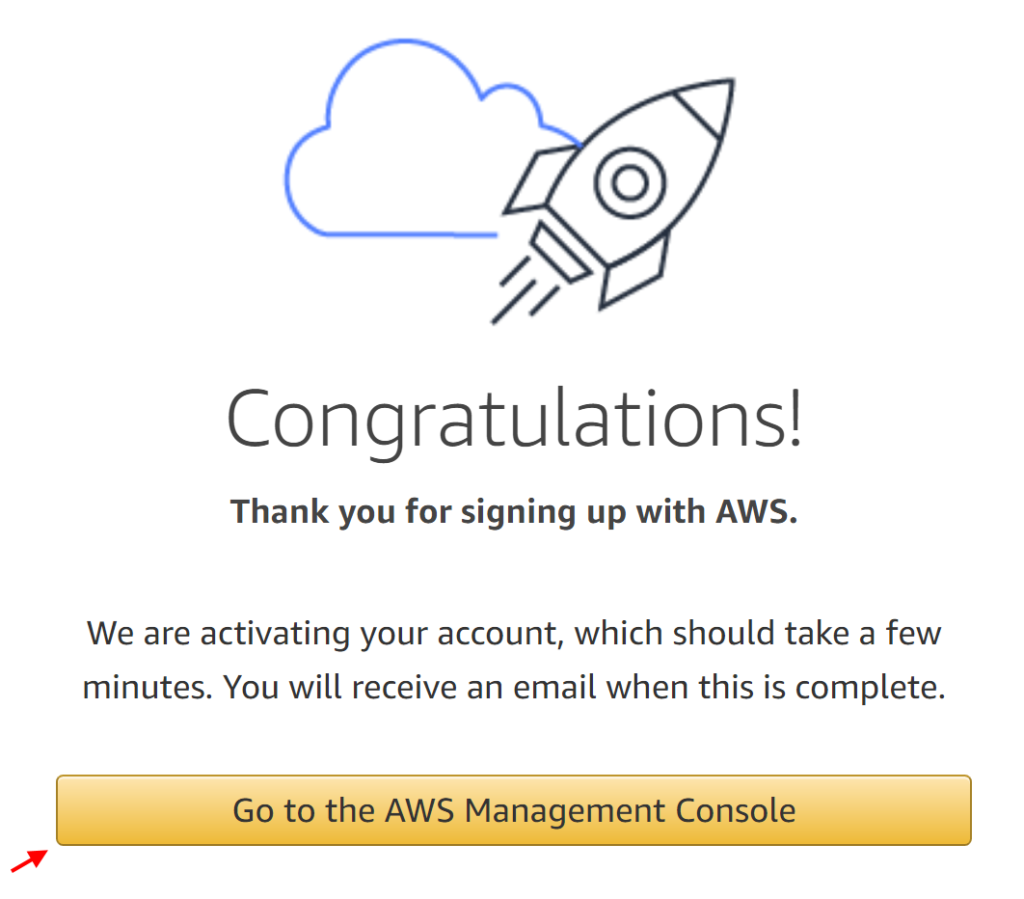
From here you can navigate to the AWS Management Console and begin using AWS services. Now check out our integration guide. After you complete the steps in that guide, you may never have to log into the AWS console again. RedLine13 has the capability to fully manage your AWS resources automatically and behind the scenes.
As a complement to your free AWS account, RedLine13 offers a full-featured free trial. Sign up now and explore all of our premium features for yourself.
