A quick guide for getting started with JMeter Recording
1 – Start your JMeter Recording with the Recorder Template
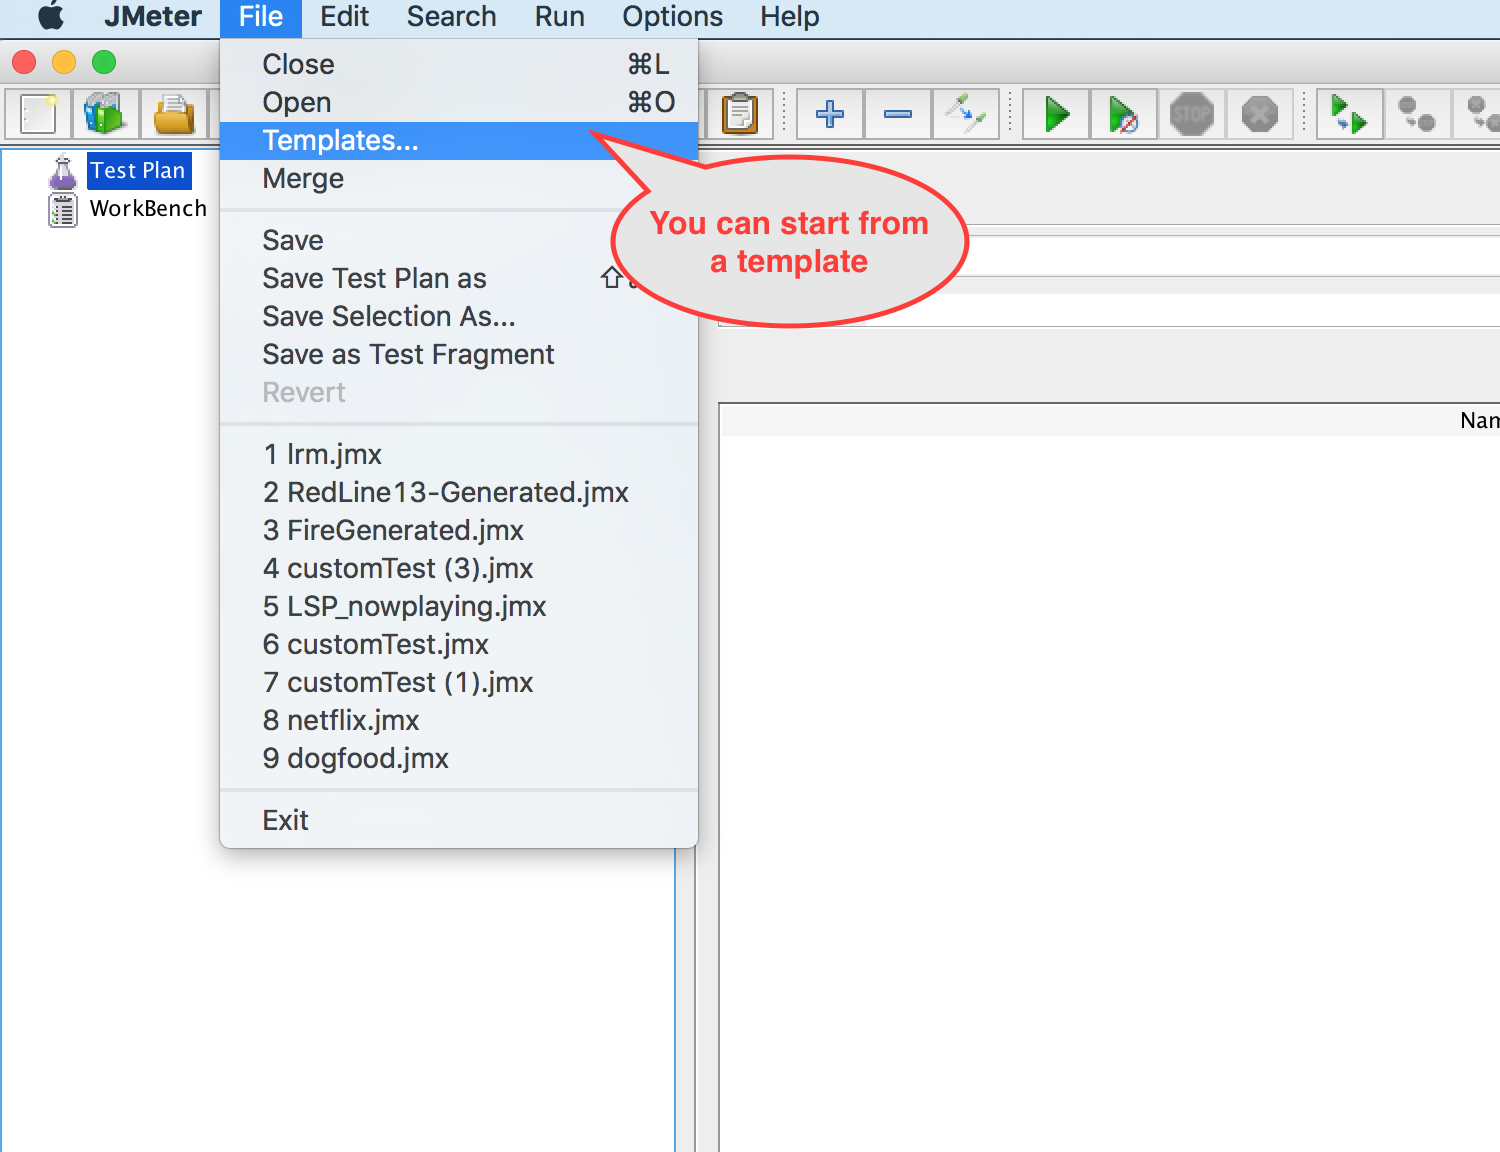
Open JMeter and Select Templates from File menu
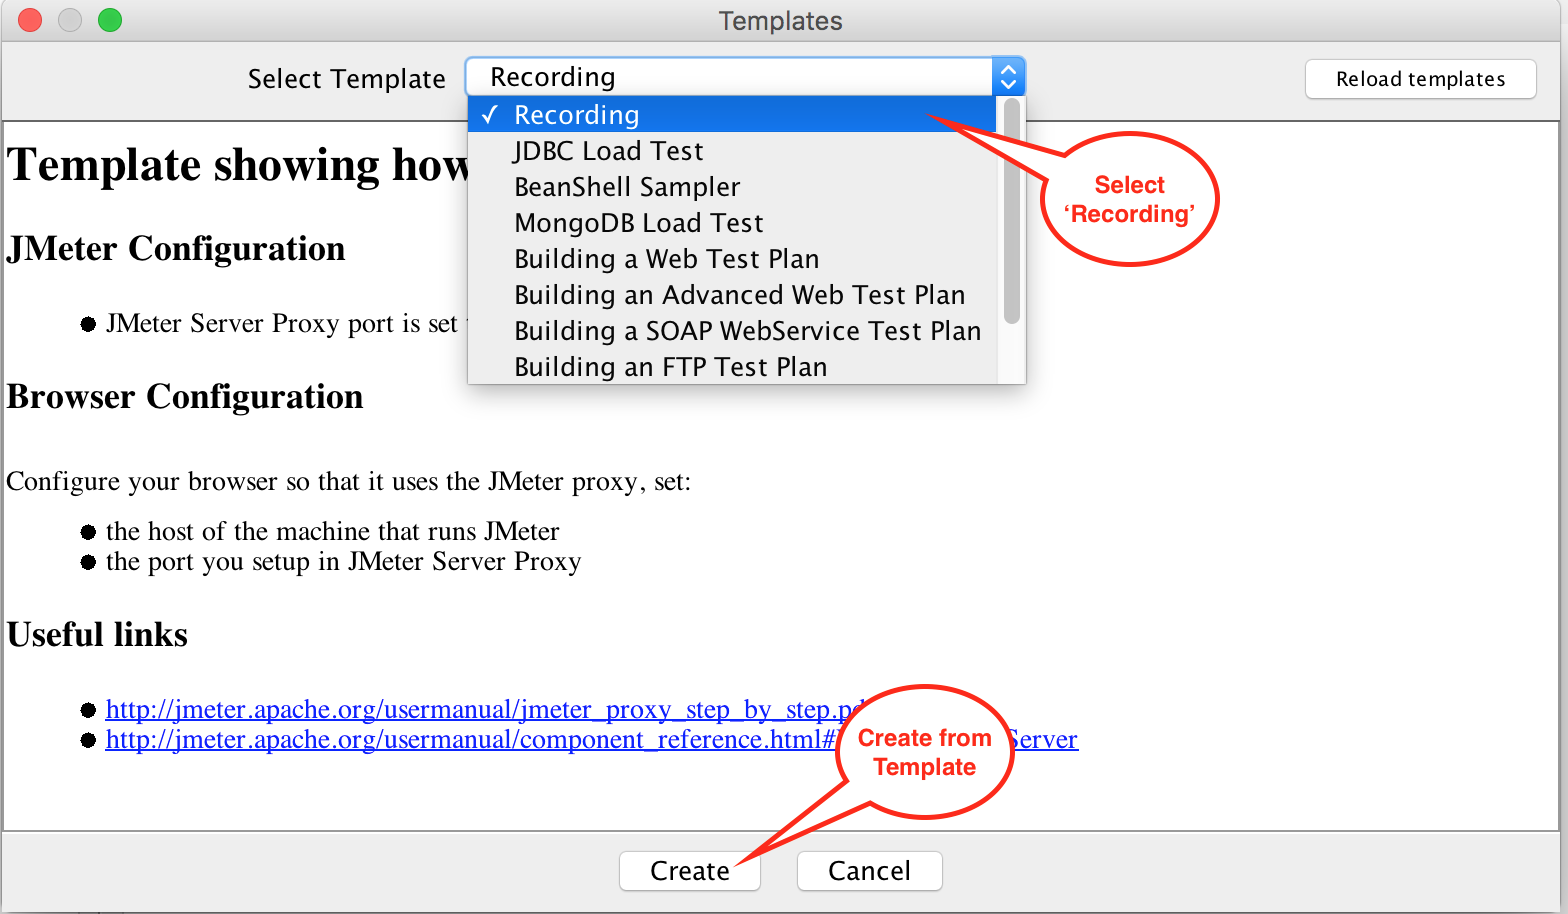
Select the Recording Template and press ‘Create.’
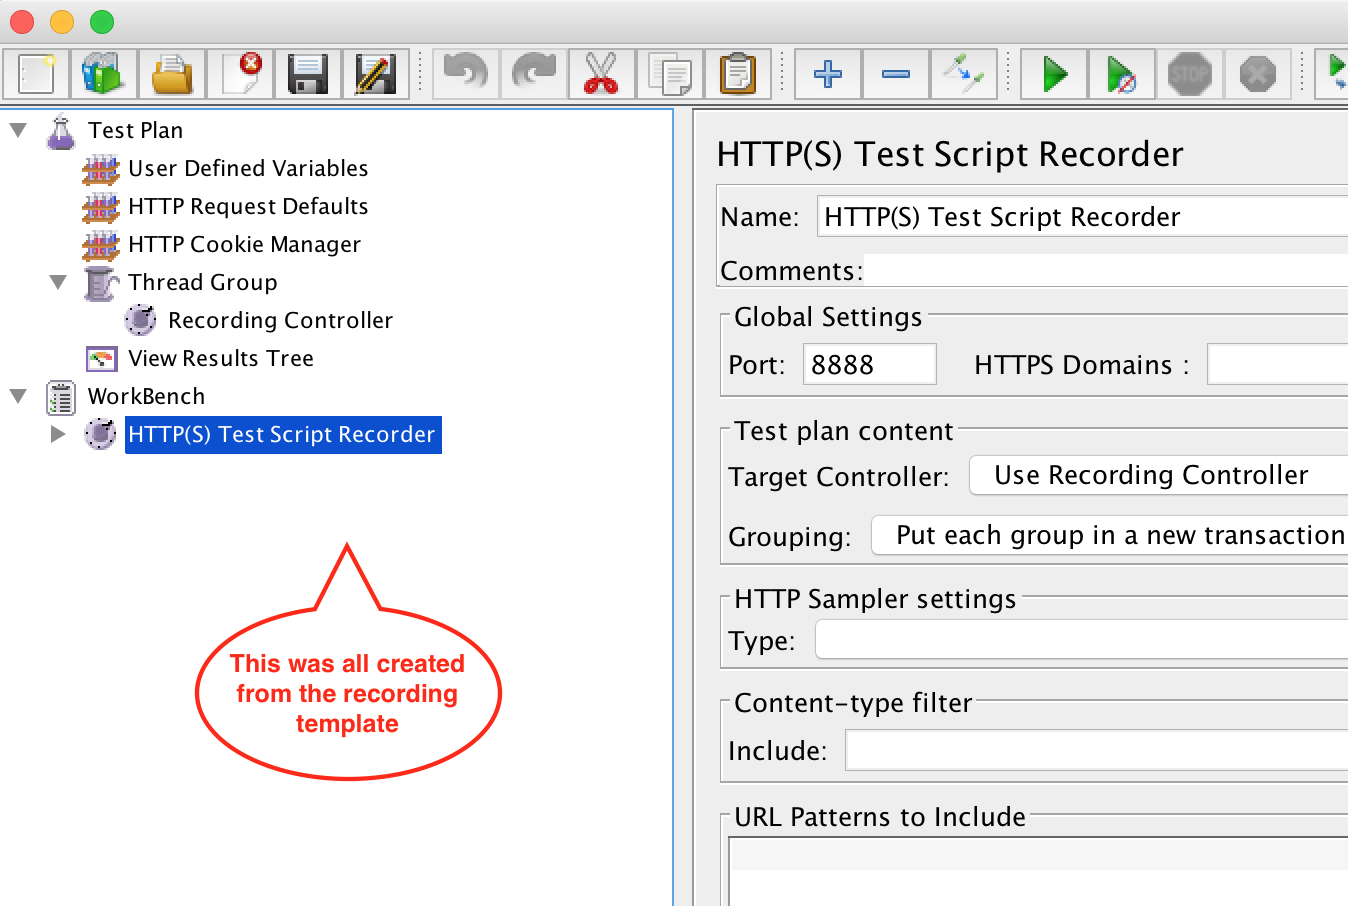
You now have a test plan with some basics already configured
Why use the template?
The recording template will put in place a few items that are staples in JMeter tests.
- User Defined Variables are created empty, however, in many tests you are going to want to pass in custom variables.
- HTP Request Defaults is a configuration element that can control the defaults for HTTP requests to follow. When you have a load test simulating many requests, this can simplify changes you want to make.
- HTTP Cookie Manager is the important inclusion for the template. Without the cookie manager, most recordings will fail during playback as cookies will not be managed between requests. The cookie manager has three purposes
- Enable creating and setting user-defined cookies
- Store and Send Cookies for requests
- Define cookie behavior
- Clear Cookies Each Iteration – every iteration it will wipe the stored cookies
- Cookie Policy and Implementation – this has real consequences on how cookies are managed and sent via your web requests
- We primarily stick to defaults to simulate a browser as close as possible.
- Apache Docs – http://jmeter.apache.org/usermanual/component_reference.html#HTTP_Cookie_Manager
- Workbench HTTP(s) Script Recorder
2. Setup your browser to point to the proxy
This is also possible on a mobile device and works wonders, however this blog post is about desktop browser.
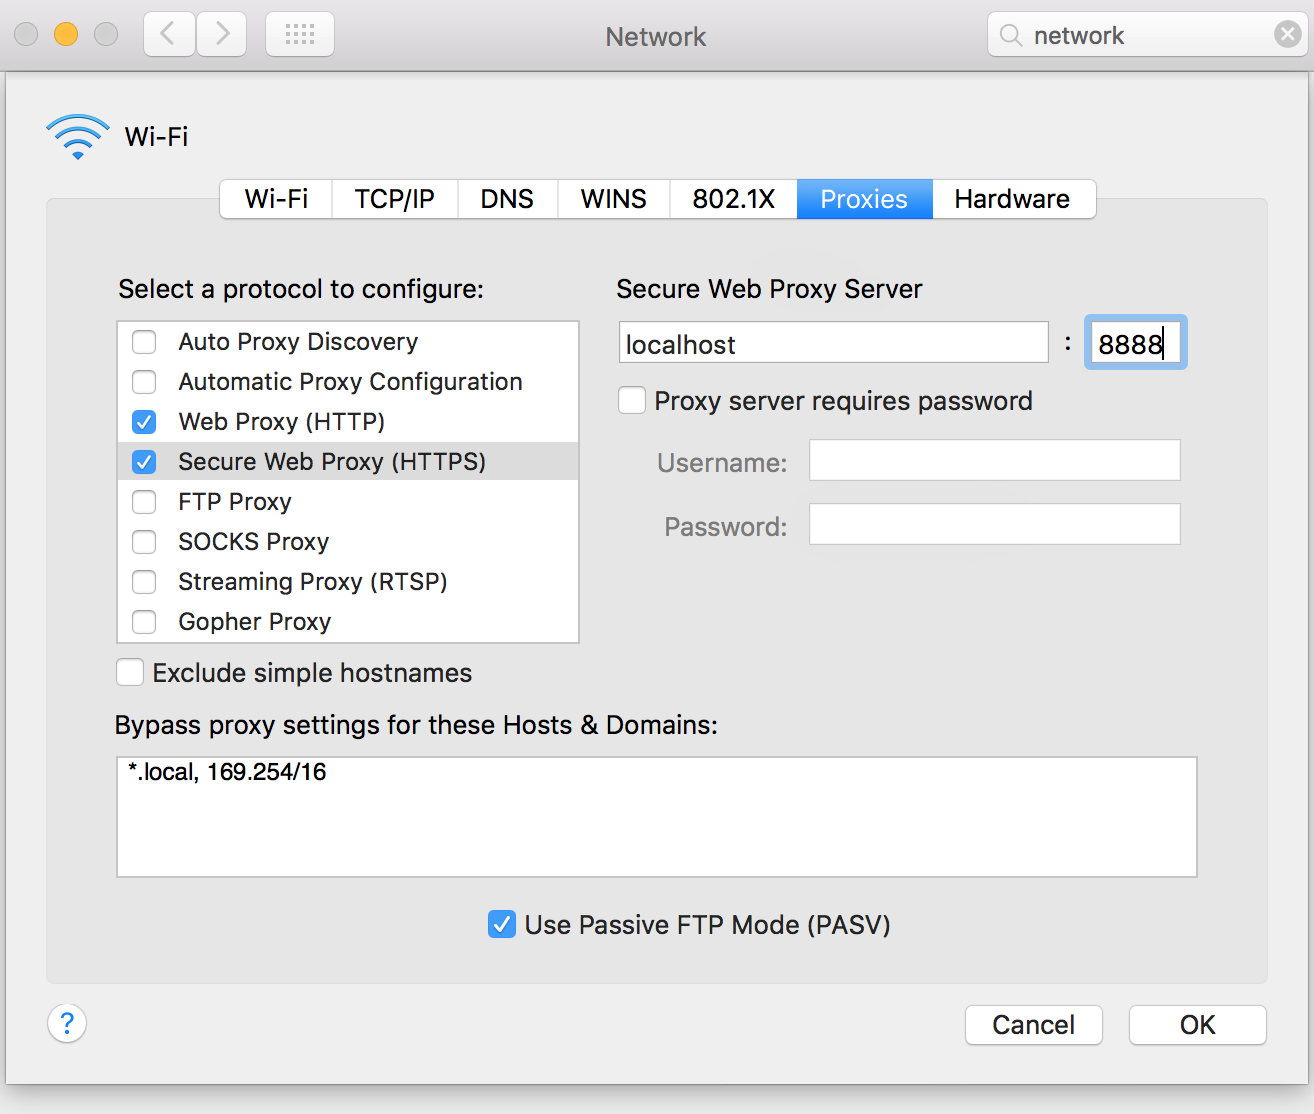
In many cases, you can use your system settings to control the proxy server, for example on OSX
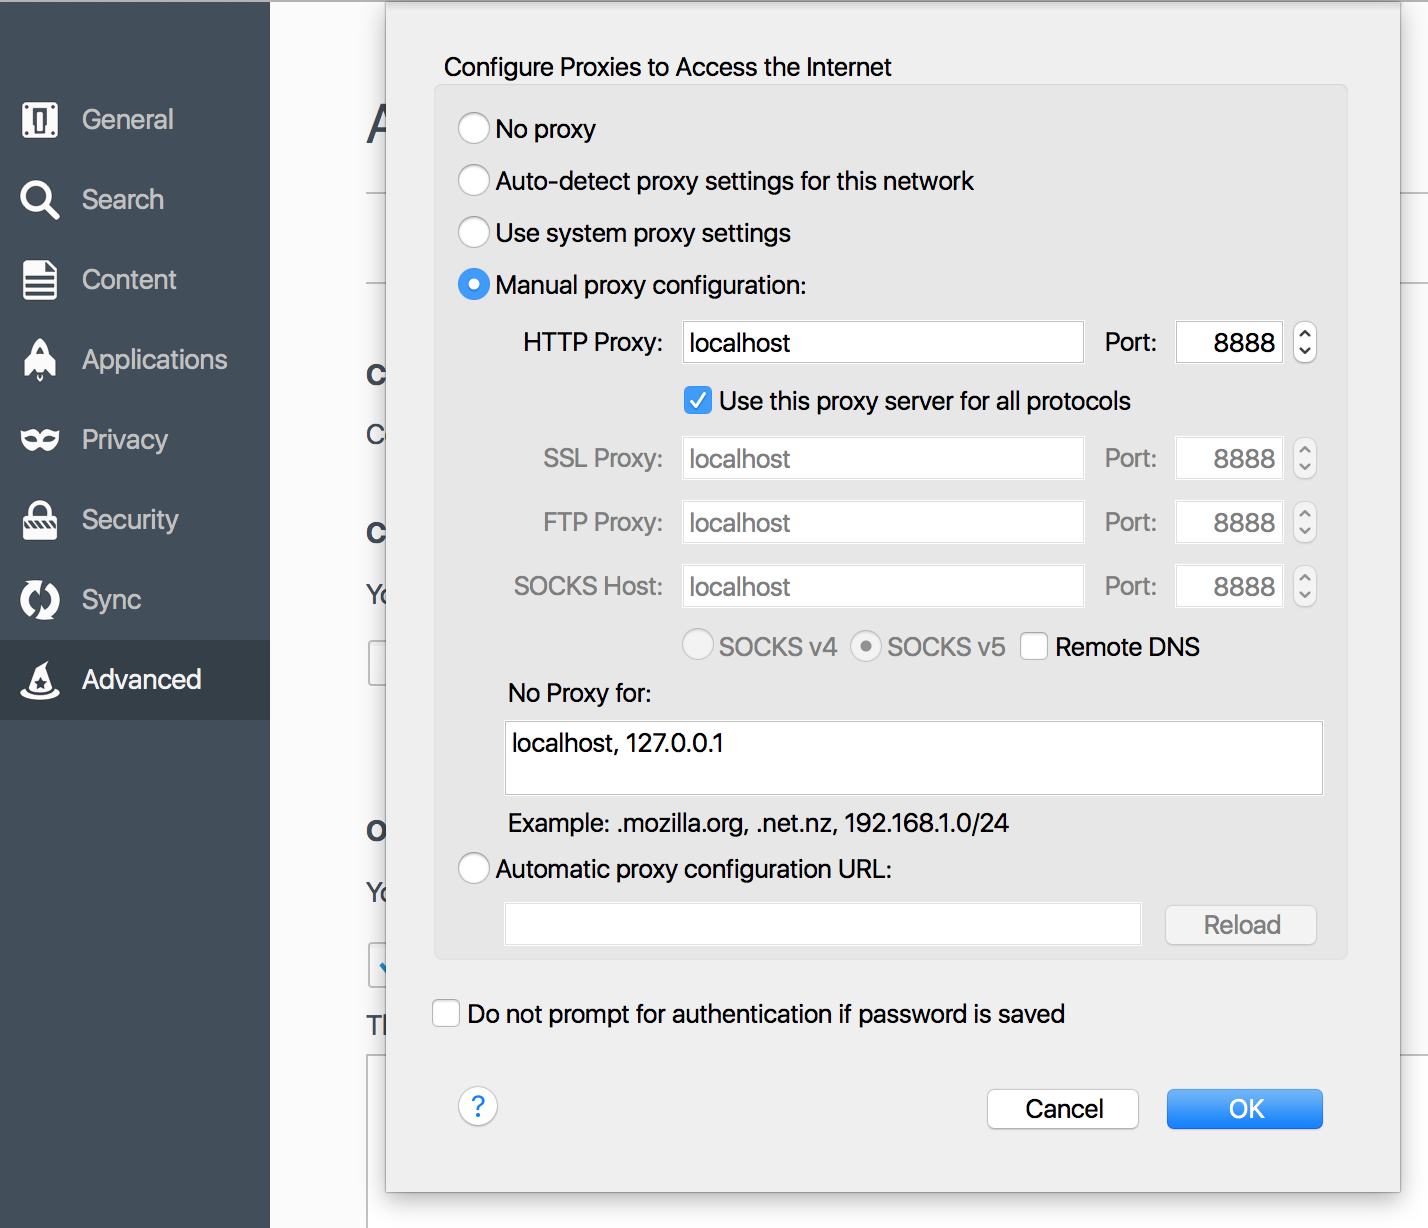
However, you can use browser specific configuration if you want to limit the proxy to a browser. I typically use browser specific setup for my proxy.
Firefox
Firefox configuration allows changing proxy
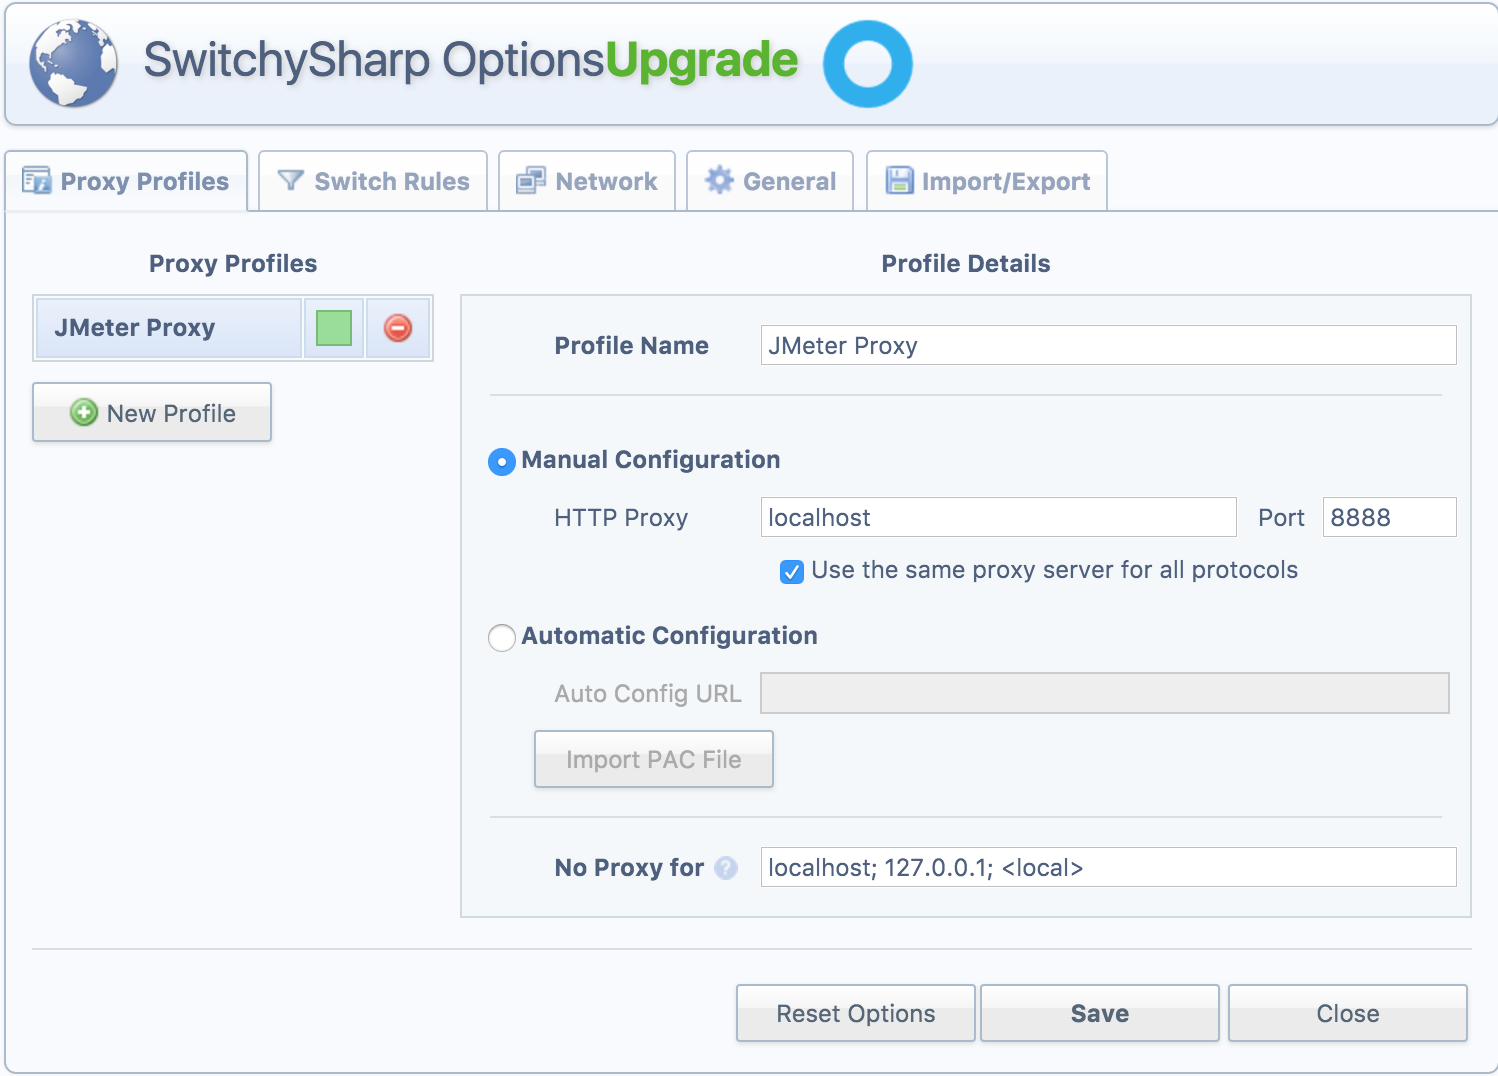
Chrome
Chrome requires using an extension if you want to control in browser – proxy-switchysharp extension
Step 3. Start your proxy and browse
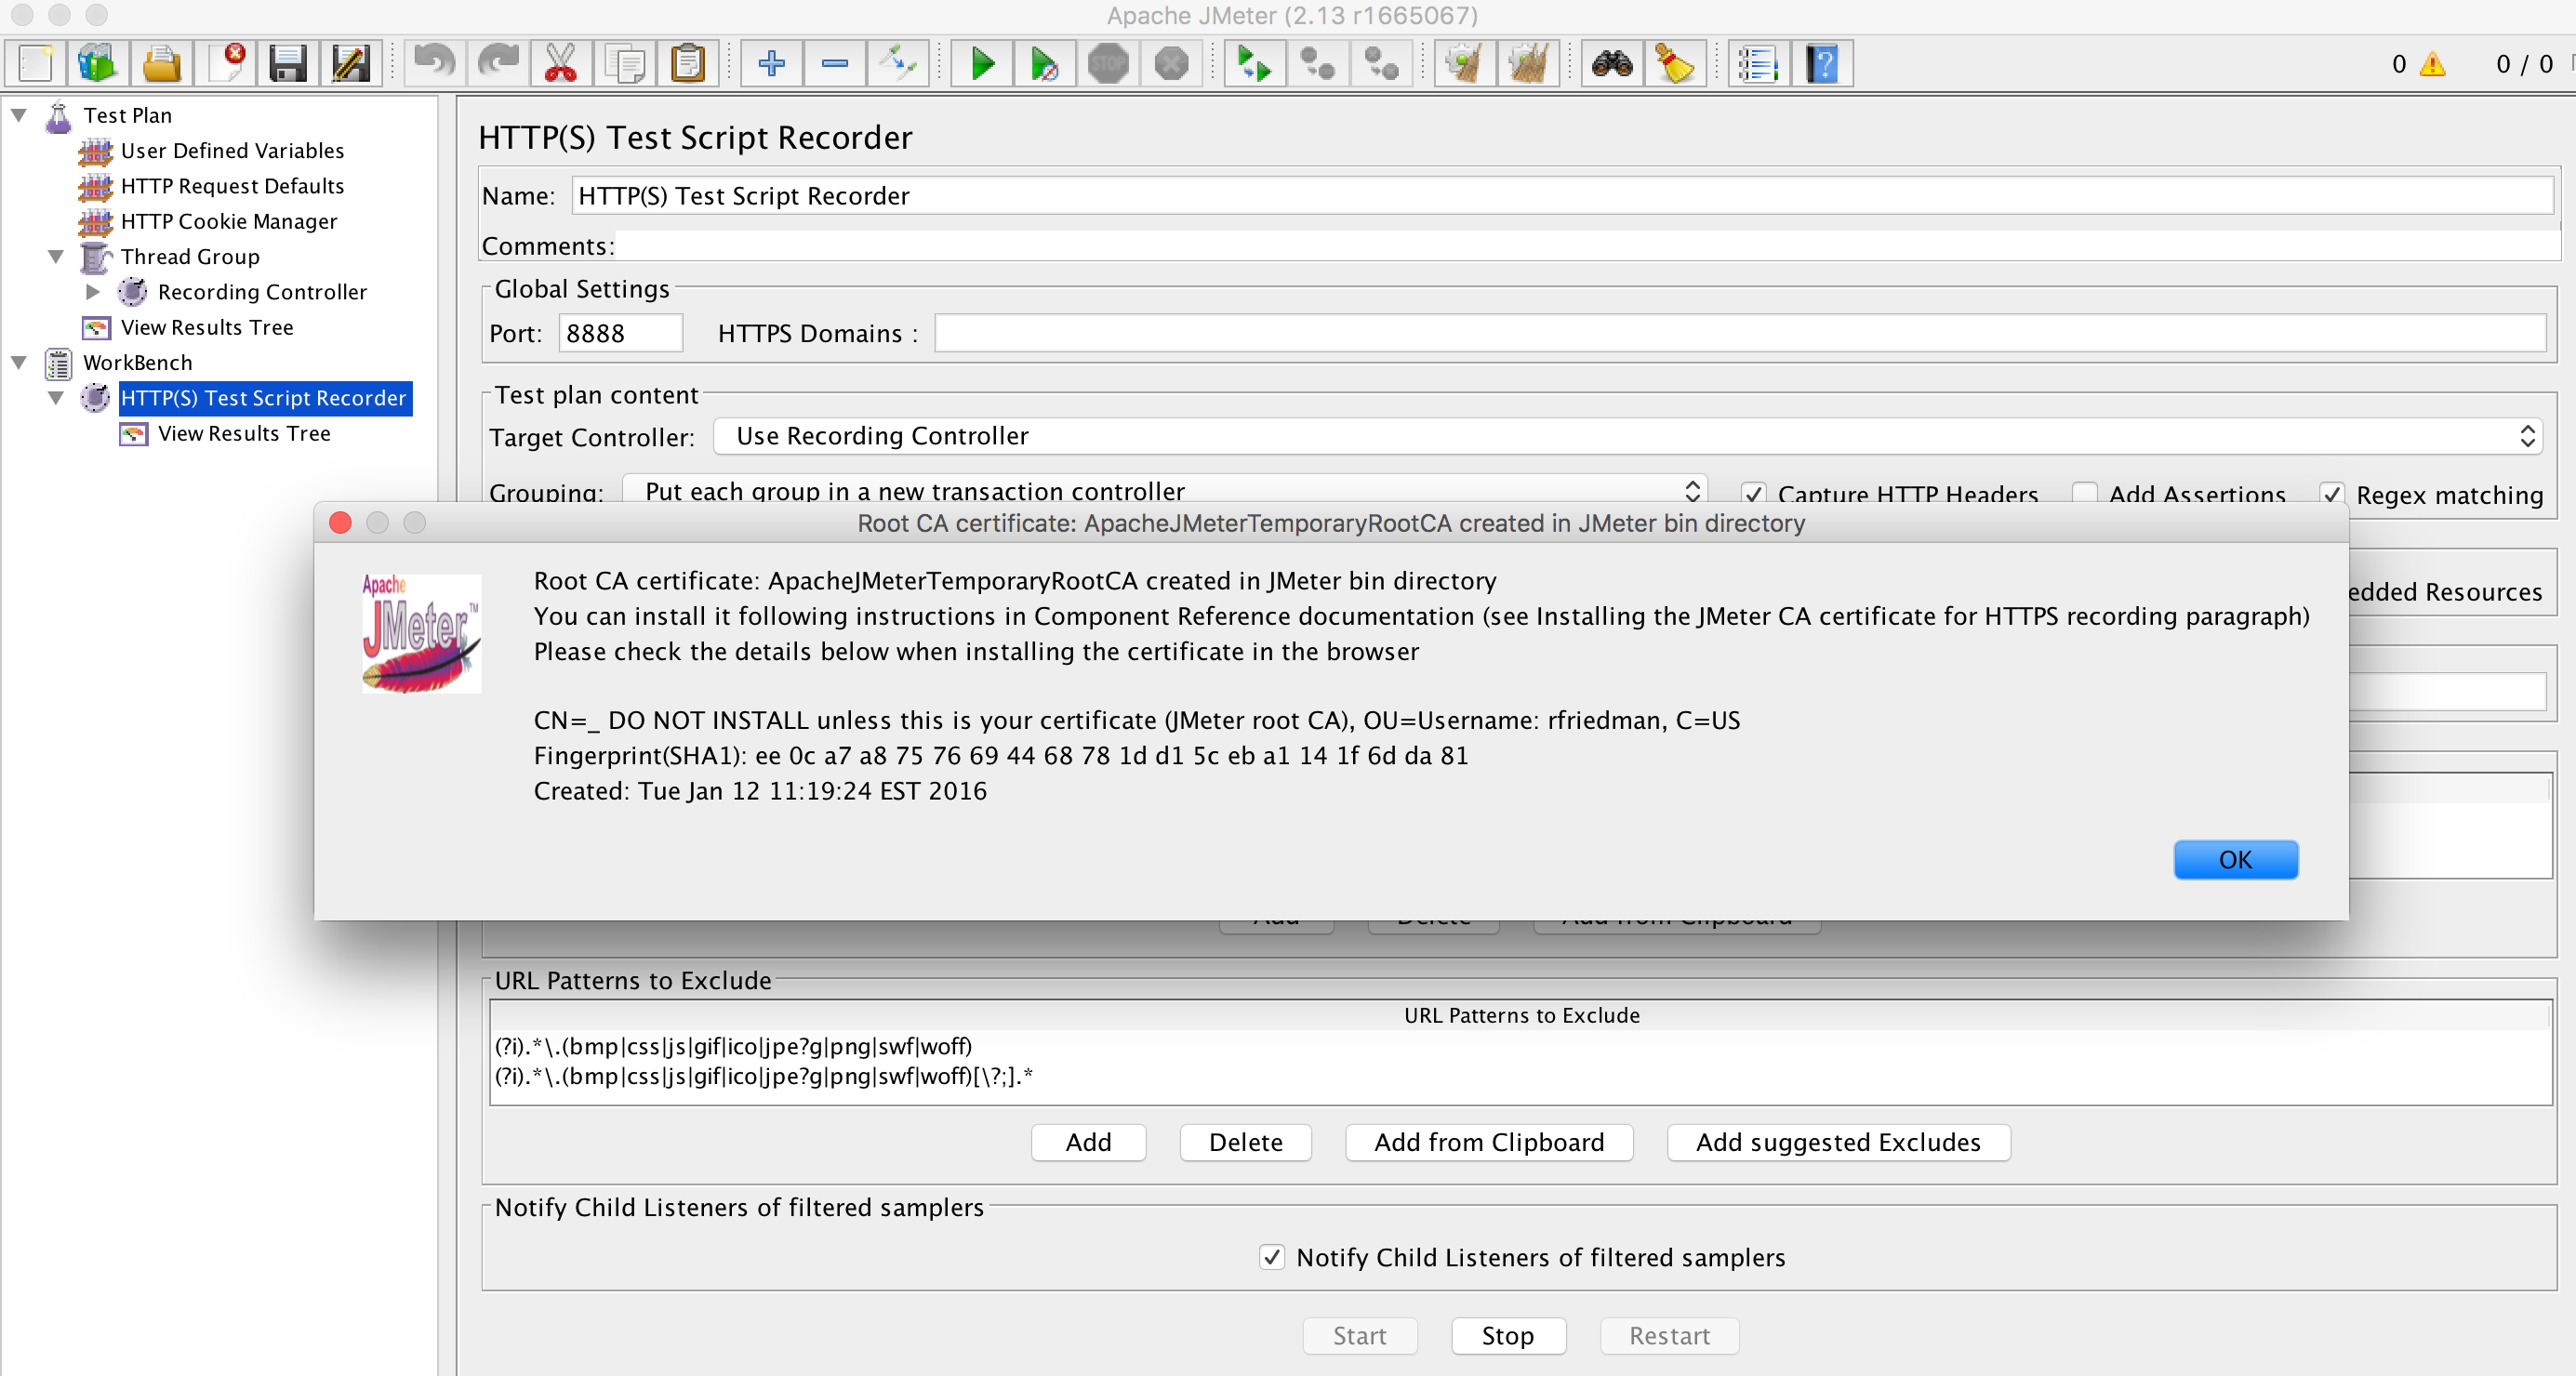
After you press start, you will notice a generated certificate with instructions on how to install. This step is critical if you are going to be browsing HTTPs sites as it will need to proxy your certs.
You check if it works since the template adds a View Results Tree next to the recorder.
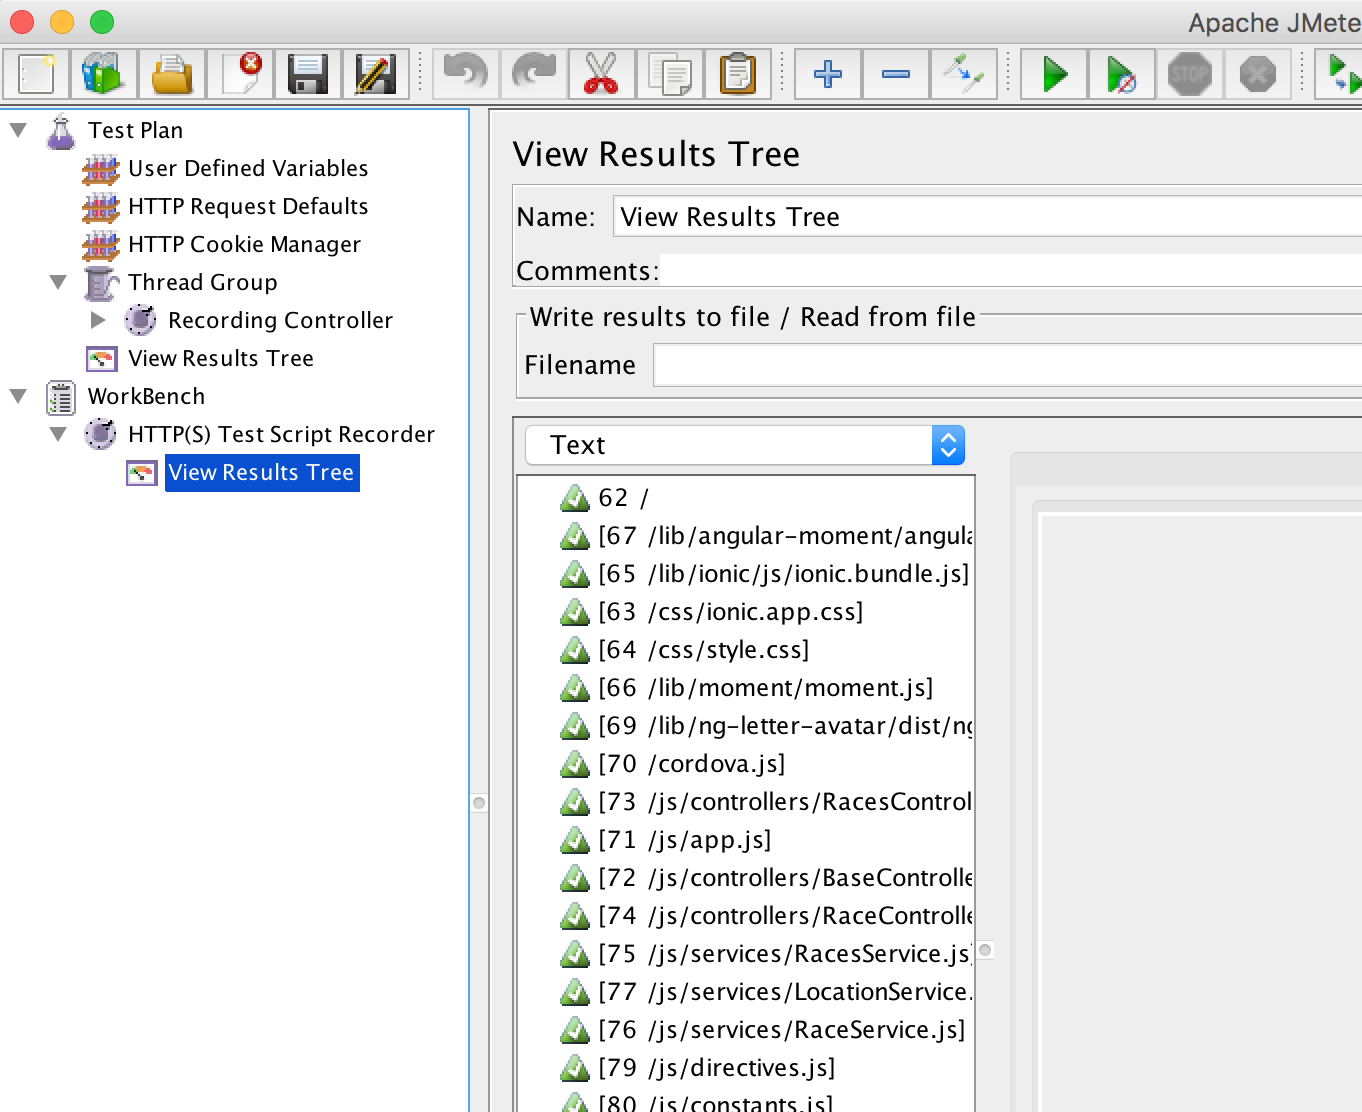
Then you can browse into the Recording Controller node and see the test plan while it is actively created.
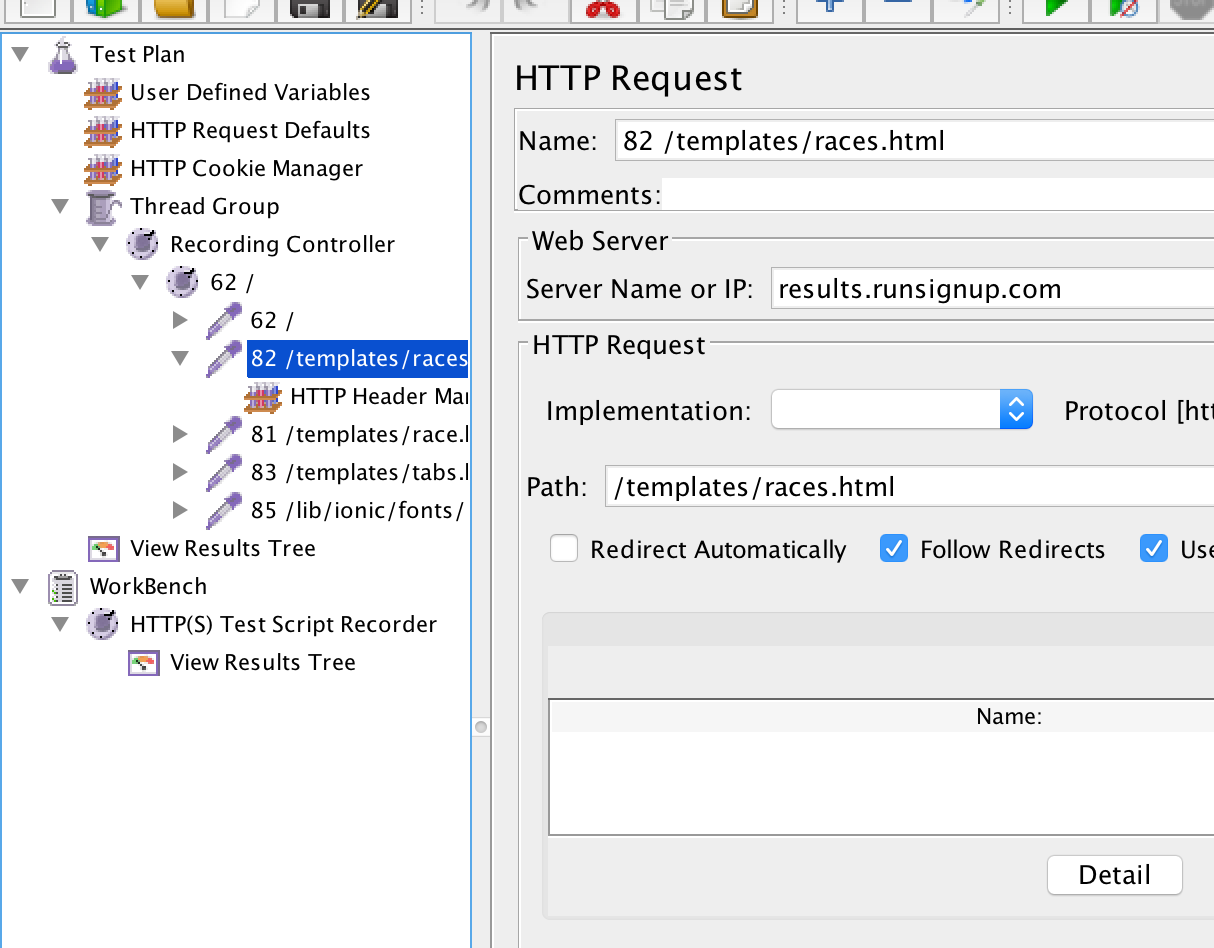
Press Stop and that’s your JMeter Recording.
You now have a JMeter test plan you can reuse and tweak.
And you can use that for load testing. Read more.

