 Load testing has always been too expensive to make it a part of your Continuous Integration and Continuous Deployment process.
That changes with RedLine13, since all you are paying for are your AWS costs – which RedLine13 minimizes by deploying spot instances and managing them for you by spinning them up and bringing them down automatically.
RedLine13 makes it simple to set up with Jenkins. Download and install the Jenkins Plug In, and then configure the API key access.
![]() Inside RedLine13, once you have set up a test, you can save it as a Test Plan. You can save any number of test plans and use them across your different Jenkins builds, or do different ones at different stages of your deployment pipeline. For example a light weight load test for every new code commit and then a heavier weight test before full production deployment.
Inside RedLine13, once you have set up a test, you can save it as a Test Plan. You can save any number of test plans and use them across your different Jenkins builds, or do different ones at different stages of your deployment pipeline. For example a light weight load test for every new code commit and then a heavier weight test before full production deployment.
 Remember, you have access to a wide variety of load testing mechanisms – simple ping/POST/GET, your own custom script written in Node.js or PHP, as well any JMeter test. And you can scale to any size with any number of load agents across all AWS Regions and size of instances. A large user has been doing 20,000 requests per second for 24 hours.
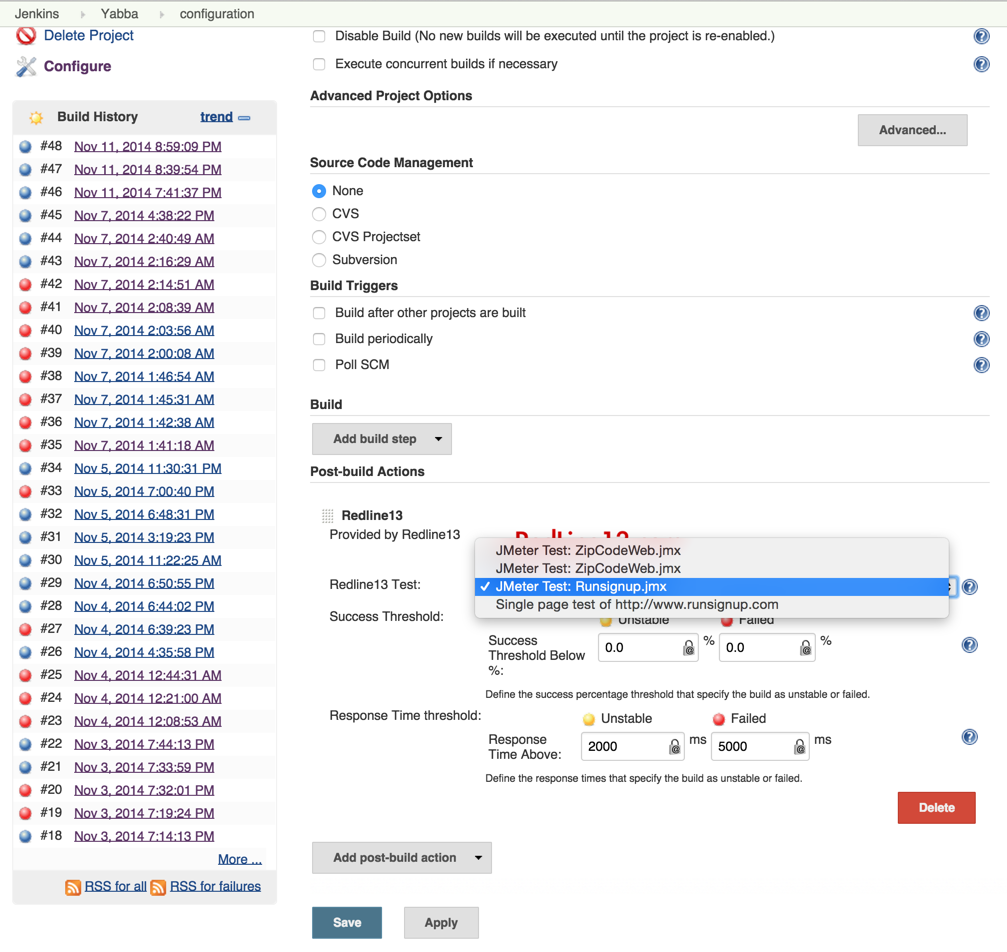
The RedLine13 Jenkins Plug-in setup is added in the post build process. There are a couple of simple things to do. First, select the RedLine13 Test Plan that you have saved in RedLine13. Then set thresholds like error rate and response time to yield Yellow and Red dots!
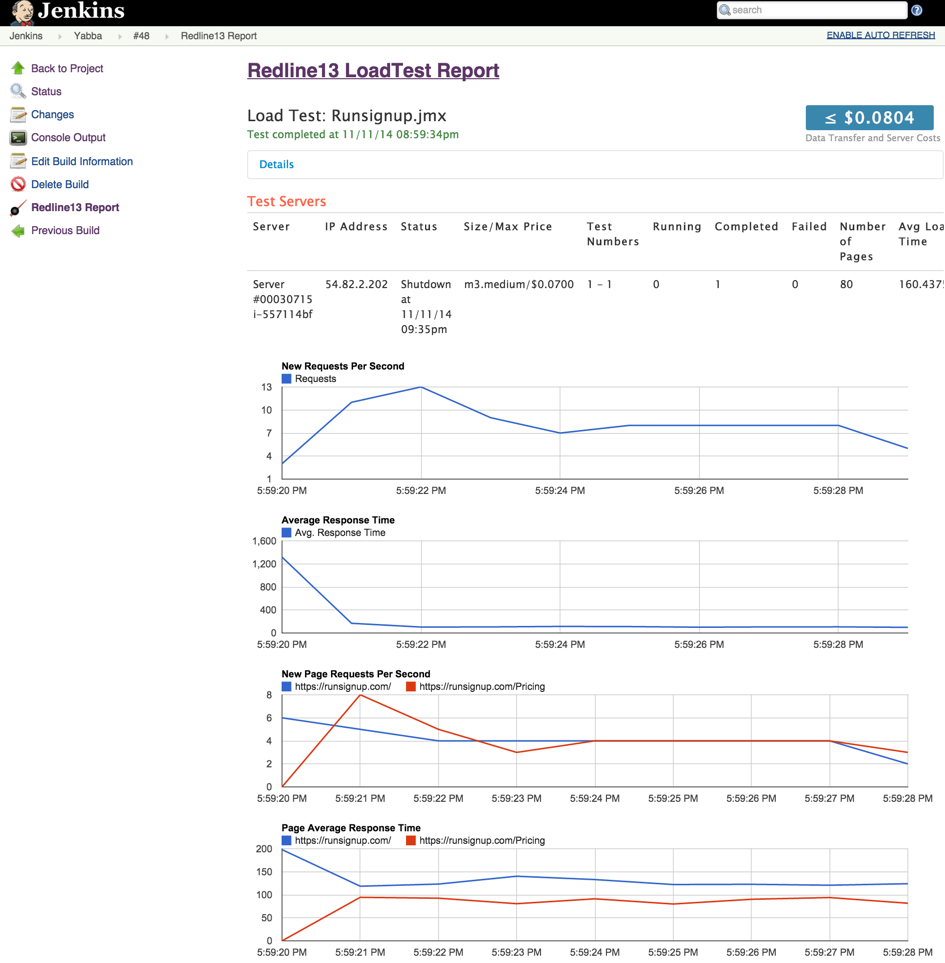
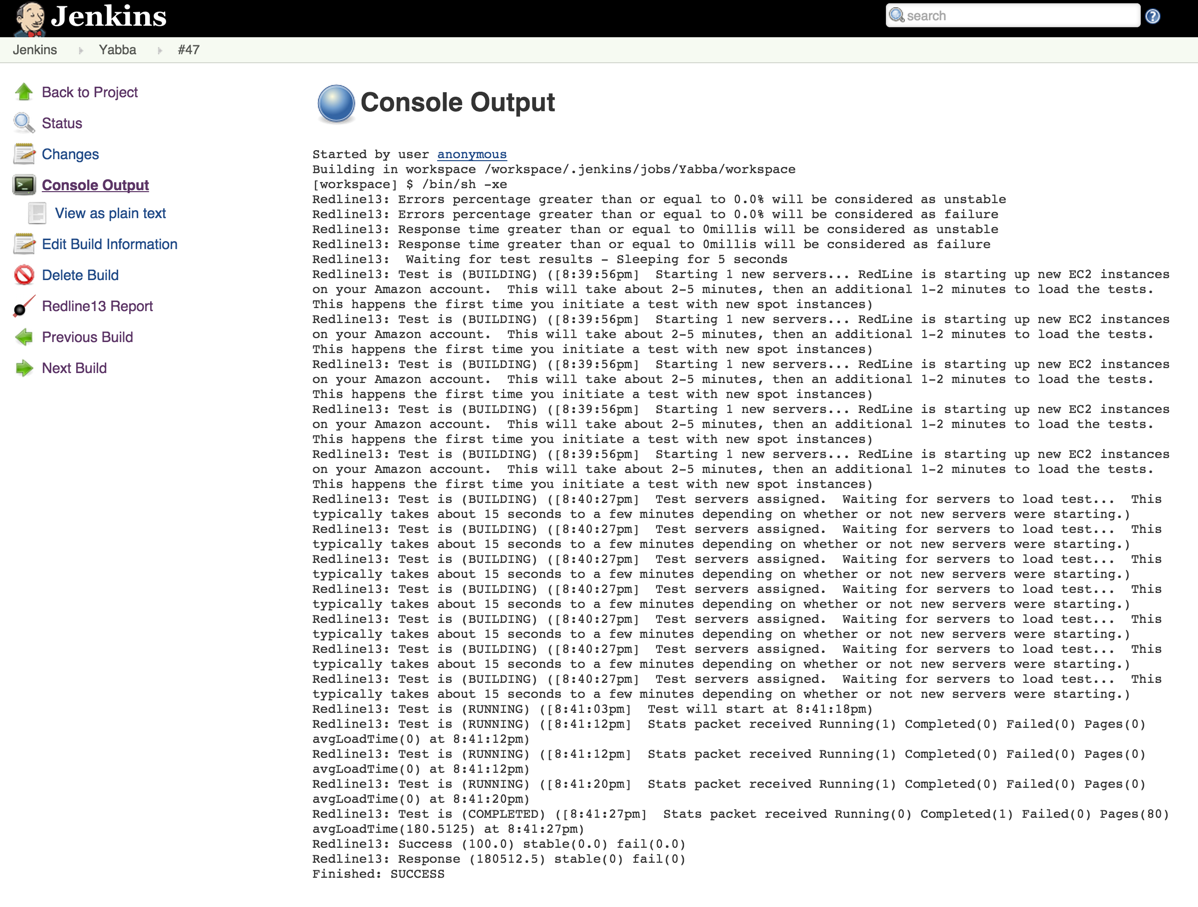
RedLine13 reports the log file status to Jenkins, so you have full access to the RedLine13 test right within your Jenkins dashboard. Near real time results are also displayed in your Jenkins dashboard as results start to scroll in on the charts and graphs.
Let us know your success stories!


1 Comment
Comments are closed.